YOU WILL BE USING AND MANIPULATING PHOTO FORMATS THROUGHOUT YOUR TIME AT THE COLLEGE AND BEYOND. IT’S IMPORTANT TO KNOW HOW TO PICK THE BEST FILE FORMAT AND MANIPULATE CERTAIN COMPONENTS OF AN IMAGE.
- Search YouTube for a video by “Techquickie” called “Image File Formats – JPEG, GIF, PNG” and watch until 3:17.
NOW THAT YOU HAVE A BIT OF AN UNDERSTAND ABOUT FILE FORMATS, WE ARE GOING TO PERFORM 3 TYPES OF IMAGE MANIPULATION AND SAVE THEM AS 3 DIFFERENT FILETYPES. SEE IF YOU CAN DETERMINE WHICH IS THE BEST FORMAT, BASED ON WHAT YOU KNOW ABOUT FILE TYPES.
(You can access tutorials on photoshop from within the photoshop software using the menu “ Help / Photoshop Tutorials”)
PART A – COLOUR CORRECTING A PHOTO TO SEND TO A FRIEND
- Snap a selfie or take a photo of something in the lab with your phone.
- Get the image to your computer (You can email yourself the photo, or you can use a Cloud-syncing service like we did last lab)
- Once the photo is on your computer, open it using the program Adobe Photoshop.
- Under “Image” in the Menu Bar, select “Adjustments” and then “Brightness/Contrast”
- Move the sliders until your image starts to look a bit better and notice what each one does. Once your happy, click “OK”.
- Now go to the same “Image” section of the Menu Bar, but select “Vibrance”
- In a similar way, play with vibrance and saturation until you’re happy with how the image looks. Once you’re happy, click “OK”.
- We would like to add some text to the photo, so select the text tool from the left Tools Palette. (Hotkey “T”)
- Click anywhere on the photo and start typing our text. Once you are finished, hit enter. (Notice that on the bottom right, the text has added another “layer” to our file. Photoshop works in layers and you must highlight the layer you want to work on for changes to take effect)
- We would now like to change the size, position and colour of our text. Select “Window” from the top Menu Bar and then select “Character”. We can use this box to adjust the font, size of font and colour of our text.
- When you are happy with this, select the “Move” tool on the Tools Palette. (Hotkey “V”)
- As long as the text layer is selected, you can now move the text around until you’re happy.
- We can now save the file as-is, or we can add a filter to make it more artistic.
- Make sure the image layer is selected and then in the Menu Bar, select “Filter” and “Filter Gallery”.
- Sample all the filters on the righthand bar until you find one you like and then select “OK” at the top right.
- We are now ready to save and share this photo. Using what you know about file formats from the video, which format is best for this application (circle one):
- JPG
- GIF
- PNG
- Go ahead an move this to your Dropbox and share it to a friend from your mobile app.
Show your instructor the image.
PART B – REMOVING A BACKGROUND FROM AN IMAGE AND INSERTING INTO A POWERPOINT DOCUMENT
- Go to pics4learning.com, click the “Backgrounds” section and go to “Community”.
- Download one of the images there.
- Open the image in Adobe Photoshop
- We are now going to remove one of the solid background elements in the photo. It can be any element that is a solid colour.
- In the Tools Palette, select the “magic wand tool” (Hotkey “W”)
- Click on any element and notice that the tool automatically crops and selects that entire section.
- You can now hit the “Delete” key and notice that the solid colour is replaced with a checkered pattern.
- This checkered pattern means it is now “transparent”.
- We are now ready to save and insert this photo into a PowerPoint document. Using what you know about file formats from the video, which format is best for this application (circle one):
- JPG
- GIF
- PNG
- Open Powerpoint.
- Selet the “Ion Boardroom” template. Keep the default and hit “create”.
- Remove all the title and subtitle elements from the main slide, so there is only a blank slide.
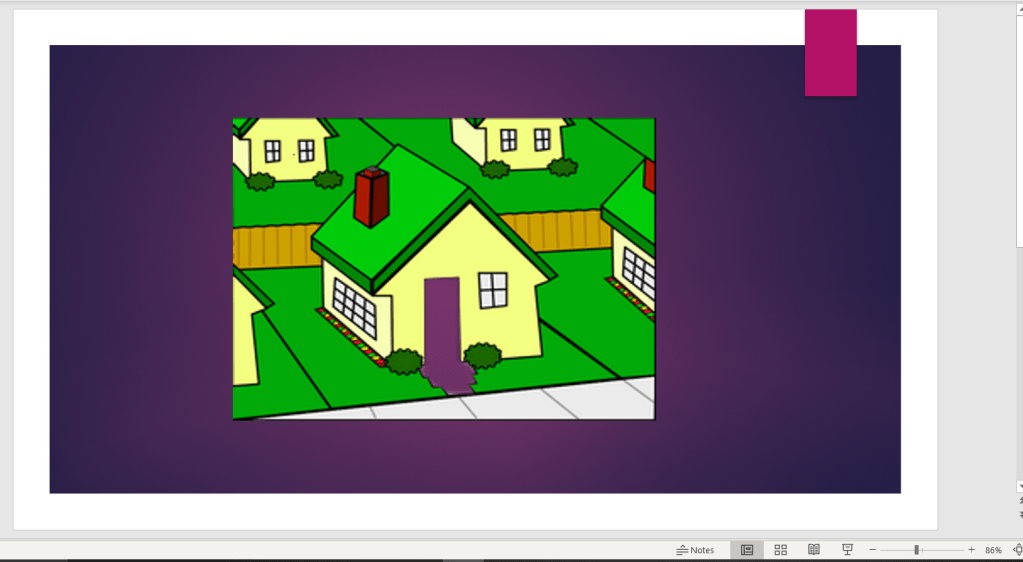
- Now insert the image that we cropped.
- If you’ve saved this with the correct file format, you will see the background of the Powerpoint slide where the checkered pattern was in Photoshop. If you have not, the checkered pattern will convert to the colour white.
Show your instructor the PowerPoint slide with a transparent image.
PART C – MAKING A LOGO FOR OUR WEBSITE
- We are now going to build a simple logo for an html website.
- First, go to https://www.iconfinder.com/
- Search for any icon (be sure to click “free” on the left bar to refine your search to show only free icons)
- Download the PNG and open it in Photoshop.
- We notice that the total image “Canvas” is as big as the one image, but we want space to put our name somewhere.
- Select the Crop tool from the Tools Palette (Hotkey “C”: Note the Crop tool can also be used to make images smaller by cutting off elements we don’t like.
- Once we make our canvas bigger, you can now add text and create a logo for your website. Feel free to add colours, shapes and other artistic effects to your logo.
- When you are done, we are going to remove any excess space on our canvas. Use the crop tool to accomplish this.
- We are now ready to save and insert this photo into an html document. Using what you know about file formats from the video, which format is best for this application (circle one):
- JPG
- GIF
- PNG
- Go to “File” in the Menu Bar and select “Save As”. Select the file format you think is best.
- Go to Dreamweaver and create a new HTML document.
- Use what you learned in previous labs as well as resources on the internet figure out how to put your image into a website. (Note, make sure the image is in the same directory as the html file. When an image is in the same directory as the html file, you don’t need to insert an entire web address for it, you simply need to put the filename)
Preview the html page in your browser and show your professor.
Save your work and either copy it to your USB drive or email it to yourself.
(we will use it in a later).

GIF FORMAT