Microsoft Office suite is an industry standard tool for creating and manipulating documents. This lab will give you a fundamental understanding of how to create and manipulate these documents. You will also learn about AODA compliance for creating documents that are accessible to those with disabilities.
PART A – CREATING A BASIC WORD DOCUMENT
- Visit: https://tlp-lpa.ca/digital-skills/microsoft-word and watch the video on the right-hand column. You may use rest of the information on this page to help you complete the rest of this lab.
- Start Microsoft Word and under File-New select one of the templates (something different than “Blank document”.
- Now start writing a story about “The Future of Computers” (Make sure there is a title and write at least 100 words on the subject of what you think is the future of computers…It can be anything from Virtual Reality to cloud computing or anything you’d like!)
- Make the following errors on purpose:
- 4 spelling mistakes
- Write one sentence in ALL CAPS
- Write the title at the bottom of your paragraph
- Now do the following on your document:
- Find and fix the 4 spelling mistakes by right clicking on the spelling mistakes and fixing them.
- Fix the ALL CAPS sentence, by making it sentence case (see diagram)
- Cut and paste the title and put it on the top
- “Hotkeys” are a way to make your workflow more efficient. Instead of clicking around, you can hit a series of keys together to accomplish common tasks. Look up and list the “hotkey” commands for the following items:
- Copy: __________________
- Cut: ___________________
- Paste: _________________
- Undo: _________________
- Bold: __________________
- Underline: ______________
- Now repeat the following steps on your document using hotkeys:
- Cut and paste the title and put it back on the bottom
- Undo that change
- Bold and underline the title
- Undo that change
- Save this document (we will need it later).
PART B: CREATING A BASIC EXCEL DOCUMENT
- Visit https://tlp-lpa.ca/digital-skills/microsoft-excel and watch the video on the right-hand column. Consult the other information on this page to help you complete the rest of this lab.
- Open your own blank excel workbook.
- Before we start, we will view both the learning portal website and our excel file on one screen using Windows “sticky corners”.
- Drag the excel window to the very left of your screen until it “sticks” and then click the learning portal window when it prompts you. Your workspace should now look like this:
- We will now start to build a budget for our school year by doing the following tasks:
- Name your “Sheet” at the bottom of the page something like “Budget”.
- Create your header row (Include things like Item/Details/Cost.)
- Create your items list (Include things like Clothing, Books, Travel)
- Select your whole table and create all borders
- Change the colours for your header row and item column to make your table look more professional.
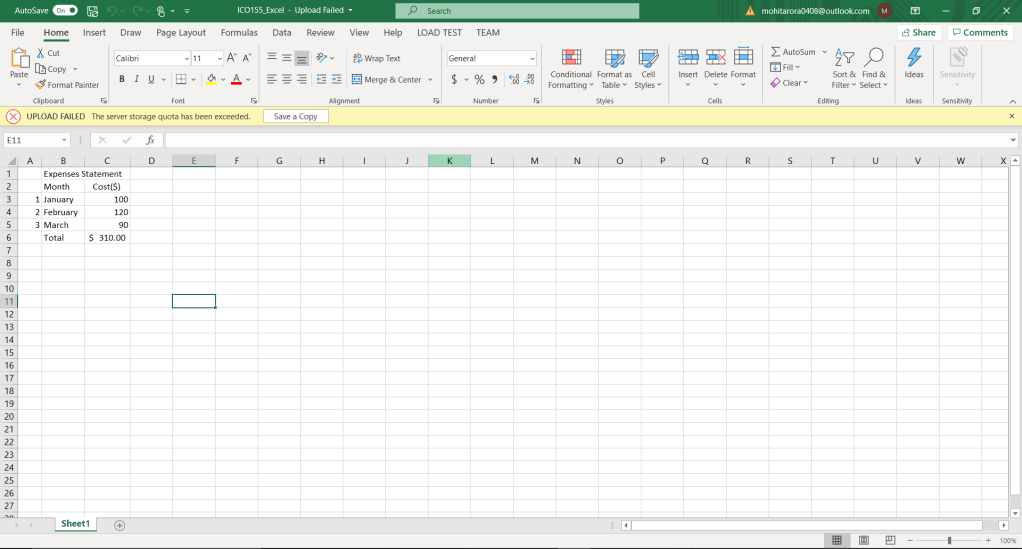
- Finally, create a basic script to add up all your cost lines for a total. (Use “=SUM(C2:C7)” This formula will add up everything from C2 to C7.
- Your table should now look something like this:
- Now put some numbers in the costs column and allow the total to populate.
- Now that we are done creating our budget, we can go back to full screen excel. Do this using sticky corners again (Click and drag excel to the very top of your screen and it will automatically do that)
- Save this document (we will need it later).
- Show this finished document to your instructor.
PART C: CREATING A BASIC POWERPOINT DOCUMENT
- Visit https://tlp-lpa.ca/digital-skills/microsoft-pp and watch the video on the right-hand column. Consult the other information on this page to help you complete the rest of this lab.
- Open a blank presentation in PowerPoint.
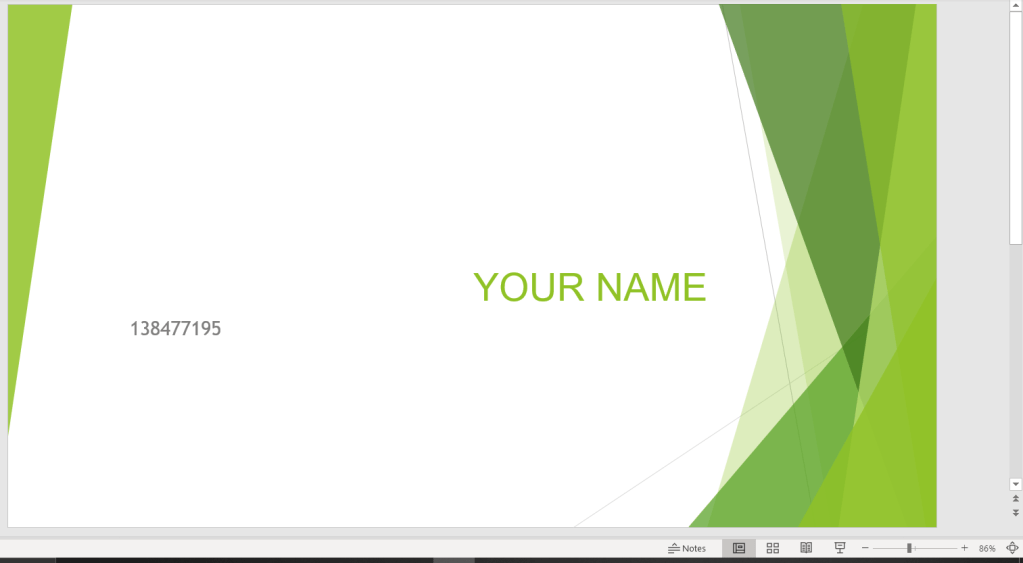
- Make the title of the first slide “The Future of Computers” with “By yourname” as the subtitle.
- Create a 3-4 slide presentation on this subject using some of the information from your earlier Word document. (try to use hotkeys to copy and paste the information).
- Make sure each slide has a title and some text.
- One you have the information in, it’s time to use a template to make your presentation look more professional. Go to the design section on your toolbar and pick a template that you like.
- Lastly, we need to go to the internet to find some photos we can use. Go to pexels.com and search for a photo that relates to your content.
- Download photos from pexels (note the license of the photo and make sure it says “no attribution required”. This means you can freely use the photo without referencing where it came from.)
- Insert a photos into each slide (except the title slide).
- Finish formatting your document and save it (We will use it later)
- Show the finished document to your instructor.
To get a list of all tabs, ribbons and commands in Word, Excel, and PowerPoint, you can go to “File/ options/ customize ribbon” menu to get the list as below:
PART D: AODA COMPLIANCE FOR POWERPOINT
PowerPoint presentations at Seneca College must be presented with certain guidelines to ensure accessibility standards. AODA standards are what we use at the college, so you need to ensure any documents you create will meet these standards.
- Go to https://tlp-lpa.ca/faculty-toolkit/aoda
- Under “Create Accessible Learning Resources” click on “Creating Accessible PowerPoints on Windows/Mac (Queens University)”
- Read the sections on:
- Appropriate Use of Colour
- Use of Fonts
- Alternative Text
- Hyperlinks
- When you have finished reading these sections, scroll back up the page and download the “Accessible PowerPoint Checklist” PDF.
- Use sticky corners to have your PowerPoint document on one side of the screen and the PDF checklist on the other.
- Go through the checklist and ensure that your PowerPoint document is AODA compliant.
- Use the search tool in MS PowerPoint and locate the “accessibility checker” (The search tool can be accessed by clicking the text next to the lightbulb)
- It will tell you if there are any remaining issues that you will address.
- Fix all “errors” but you can ignore warnings and tips. (Hint: when you click on an error, a window will open up below and tell you how to fix the problem)
- Show the final AODA compliant PowerPoint document to your instructor.
AFTER SUCCESSFUL COMPLETION OF THIS PRACTICE SET YOUR DOCUMENTS SHOULD LOOK LIKE-